
To many, recording music can seem to be a mystical thing. The incredible sounds and balanced mixes that pulse through your speakers can both inspire and intimidate the novice musician into getting the best possible sound in their recordings. While there do exist “magicians” in the realm of engineering, producing, and mixing and mastering songs, there are a few things that you as a guitar player can do to help ease the recording process and ultimately capture the best tone you can. Whether you’re going into a studio with a few hired guns, or are taking on the entire process yourself, try to use a few of these tips and tricks to make everyone happy!
- Know your parts.
Sure, spontaneity has its time and place, and often a lot of things that make the final cut of a song are things that have been written or jammed out on the spot. That said, having a solid grasp on your songs and the parts you are going to play means you get more time to focus on tweaking tone rather than making mistakes or writing as you go. In the studio, time is money! The more takes you can bang out, the bigger the pool you have to choose from when piecing things together.
2. “Magicians” can only go so far…
As I said, there are some extremely gifted individuals in the recording industry. However, as a wise man once said, “you can’t polish a turd.” If you enter the studio with a guitar that hasn’t been restrung or set-up in months, your recording is already doomed to mediocrity. Here’s an example: take a black marker, and a brown marker. Draw two lines. Do they look different? Yes, they are different colors! By the same token, let’s say you’re using two different guitars on your recording – one that’s set up properly and one that hasn’t been touched in months. Even if they’re both bang-on in tune in the open position, chances are the intonation on one is going to be all askew. It’s going to be the brown marker, and there’s nothing you can do to change that other than use the black marker again. Or just get the guitar intonated.

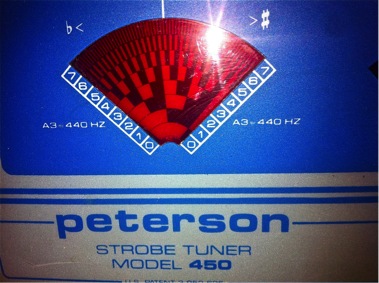
3. Then tune. Then tune…
This should be obvious, but keep your guitar in tune! Check your tuning before and after each take to ensure nothing has slipped out. As a general rule, if you’re recording with another guitar player, bass player etc. be sure to use the same tuner they used. Different tuners can vary ever so slightly in their readings, and discrepancies are far more audible when played back than when played live.
4. Layering
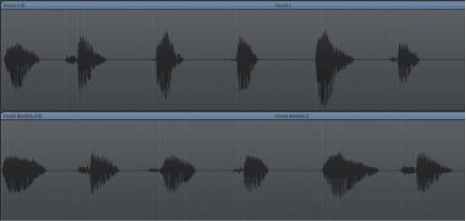
“The wall of sound” as it’s so famously described! You’ll want to double track a lot of your guitar parts – especially your rhythms. It can sound pretty powerful just using the same guitar and settings, but for a thicker sound try using a different guitar. Two different instruments can add a more “live”, or “real” sound to the mix even if it’s the same person playing the parts. If a second guitar isn’t available, or you simply enjoy the feel of one in particular, try switching pickups or rolling off some tone. The idea is to add depth and thickness to the guitar track, so you may as well make it sound like two guitars!
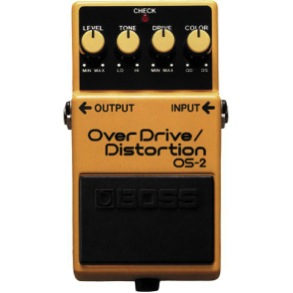
5. Distortion
If your songs played live involve a lot of distortion, that doesn’t necessarily mean you want to match that amount on the recording. Too much distortion can take away from articulation drastically and just make for a jumbled sounding mix. You’d be surprised how big of a sound you can get in a recording with a much smaller amount of distortion – especially with the layering technique I talked about in point 3!
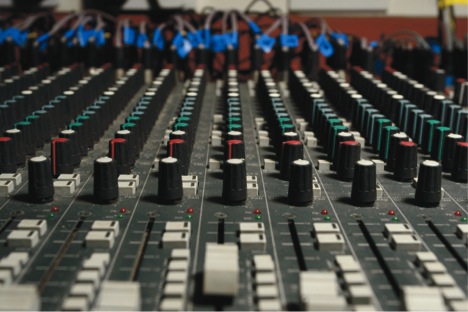
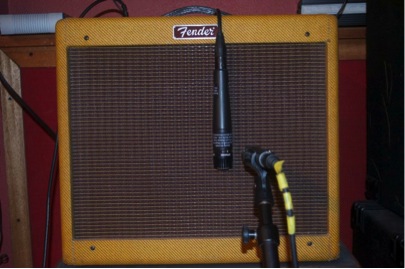
6. Mic Placement
Your ears work a little bit different than microphones. When you listen to a guitar played through an amp live, it’s not just the guitar and the amp that are vibrating. You’re making the room move, too, and depending on where you place your mics you can pick up some of this room sound. If you’re looking for straight, tight, pure guitar tone then you’ll want to use a close-miking technique to capture just what the amp’s giving you. For a more airy, ambient and open sound, try a more distant mic. If your cabinet has multiple speakers, it’s a good idea to choose one to mic up. Find the speaker cone, and see what it sounds like depending on where you aim the mic. You can also try using more than one microphone on the same speaker in a different location, or even try miking a separate speaker. The closer to the center of the cone, the harsher and brighter the tone. The further out, the opposite! Try it out!
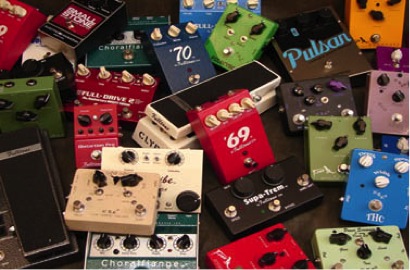
7. Signal Processing
We all love a nice slap-back delay and wet reverb, but it’s a good idea to record your guitar as dry as possible without any effects. You’re going to be EQing your guitar tone after it’s recorded, and you’ll generally want any changes like this to be done to just guitar and not the effects. You can easily add these on after the fact. If you’re like me, and you absolutely have to hear some effects when recording (if you sound better, you play better!) then you can have the effects sent to your headphones but not to the recording track. That way you hear what you want without potentially compromising anything.
These are just a few things to consider when trying to get the best guitar sound possible in your recording. There’s lots more to keep in mind, but it’s good even to have the basics down. Best of luck in your studio adventures!
Happy Playing!