
I’m the kind of person who likes the beat up, rugged and used look on some guitars; but only if I’m the one who made them look that way. It shows they’ve been played, and each little scratch or scuff tells a story.
Wear and tear is one thing. Dirt and grime buildup is a completely separate thing! Sweat, oil, and dead skin builds up on the fret board when you play and has a tendency of getting trapped under the frets. Think of it like plaque buildup on your teeth. Metal can become tarnished, or just build up grime on the bridge especially. A lacquered body collects all the oil and sweat from your arms, hands and fingers leaving scuffs and fingerprints. If a criminal touched a black guitar at the scene of a crime, police wouldn’t even need to dust the thing for prints to find the culprit.
Looking at a clean guitar is obviously much more appealing than the opposite. It makes you want to pick it up and play, and it doesn’t feel gross when you do so. In this article, I’ll list and explain some of the products I use when it comes time to maintaining the clean look of your instrument.

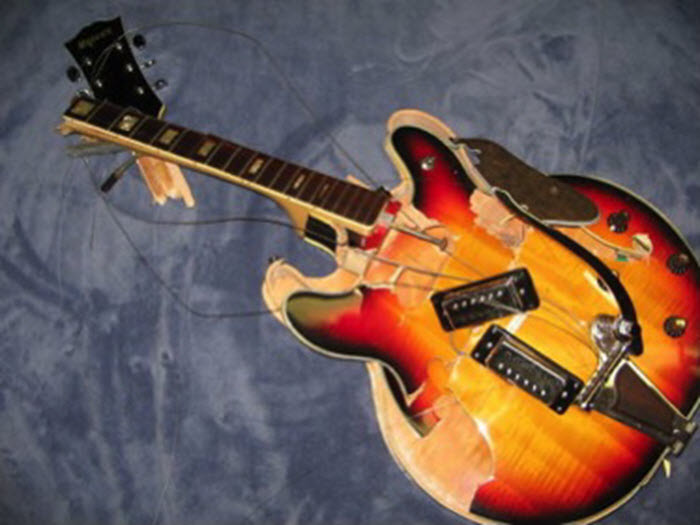
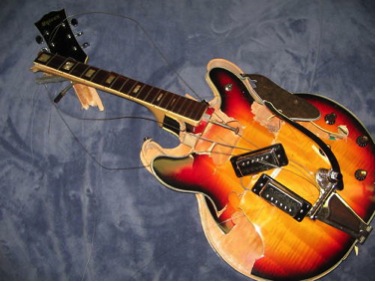
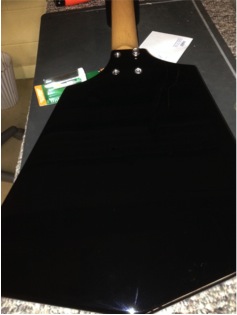
I found a dirty old bass neck in the shop, so I’ll go over the process with photos using that.
1) The Fret board.
This one was never played, so luckily there’s none of the characteristic “green powder” in and around the frets, but I’ll still do what I normally so in this situation.
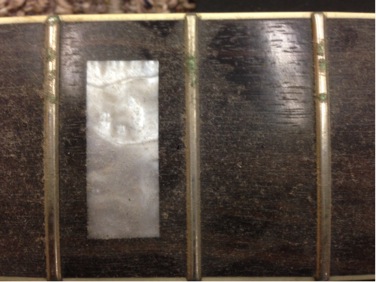
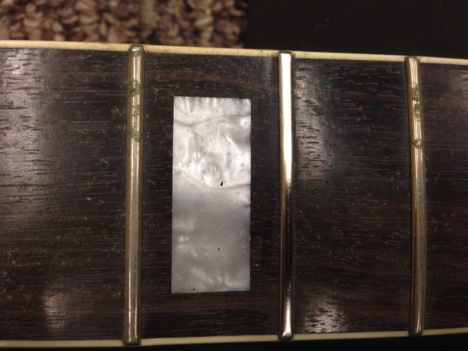
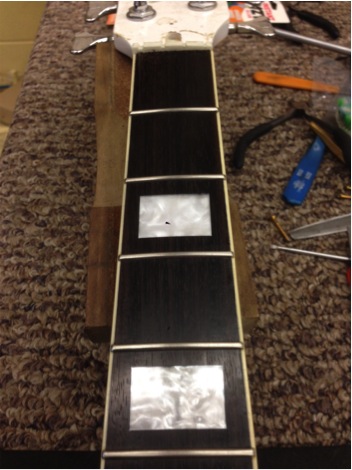
For polishing the tops of the frets, I find the “fret erasers” from Stewmac work best. You don’t need to use all of them, but it’s good to go over each fret with at least a couple different grits. Here’s the difference between a dirty fret and one I went over with just the red fret eraser:
Small shavings of the fret eraser and dirt will be collected around the frets, so before cleaning, I spray the board with some compressed air. Next, it’s time to clean the fret board.
The product I use here is called “Simple Green”, which is just a general cleaner. Be advised, you don’t want this to soak into the wood! It’s very much a karate-kid technique: scrub on, scrub off.
Make a few sprays along the neck, and scrub it in using a scrub brush or toothbrush paying extra attention to where the fret meets the wood. Once you’ve scrubbed everywhere, wipe it off with a shop towel.
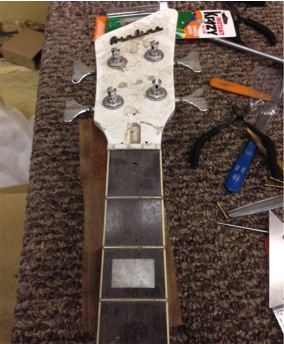
While this process cleans the board nicely, it can dry it out. Next you’ll have to give back some moisture. There’s different oils you can use like lemon oil or linseed oil. I haven’t tried the latter but have heard it does the trick. Applying it is the same idea as the Simple Green here, except instead of scrubbing I use a shop towel to rub the oil in, and then out. After all is said and done, your neck should look like this:
2) The Headstock
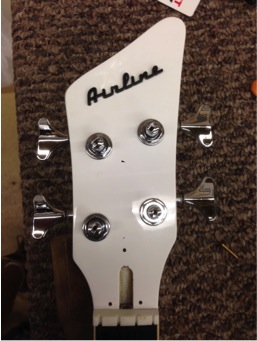
The headstock had some weird water marks caked onto it, so for this I used a small amount of “Goo Gone”. This stuff works great, especially for removing sticker residue. Don’t use too much, and remember to wipe it off. This should be a “last resort” product for stuff that just won’t come off, and even with it you’ll still need to use a little elbow grease. It also tends to leave the guitar feeling greasy, and the product itself is very runny. Here’s what the headstock looked like after:
3) Hardware
Next I did the tuning pegs. For all things metal, lighter fluid or any fluid that contains the flammable “naphtha” chemical mixture works very well. Naphtha is getting harder to find, (at least where I’m located) and some brands are removing it from their formulas. Double check that the fluid contains it before you buy.
For light grime, you can just rub the fluid onto the metal with a shop towel. Don’t light a smoke while doing this, unless you want to be in a Jimi Hendrix tribute band.
If the stuff isn’t coming off, you can remove the metal components, and leave them to soak in a bowl full of the solution. A good alternative is a metal polisher like “X-treem metal polish”, but the powder is very dry and messy so if you go that route be sure to wear gloves.
4) The Body
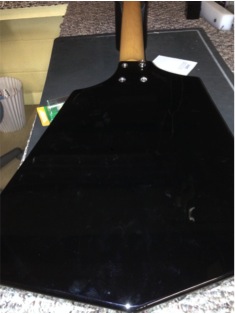
As most people likely did, the first time I polished guitars I used the standard “guitar polish” you find in guitar stores. I’ve never found that to do a fantastic job, leaving swirl marks and taking forever to wipe in and out. One day I bought a product to try and cover up small surface scratches, and found that it served as a brilliant guitar polish! The product is called “Scratch Doctor”, and is intended for car finishes.
Just put some on a shop towel, wipe it onto the guitar body until it’s evened out (it’s easy to see where it’s been applied) then wipe it off. The pictures here don’t really do it justice, but you can kind of tell:
Make sure you don’t re-use these shop towels. The product can harden a bit on the towel, and you don’t want to leave scratch marks later on.
5) Electronics
If you’ve ever spun a knob and heard a static, crackly noise, chances are you’ve got a dirty pot. A quick spray from electronic cleaner will typically fix it right up. I use “Deox-It” – this is a very expensive cleaner, but it’s also a very good one. A tiny spray is all you need, so the canister goes a long way.
With the pot exposed, you’ll see a small hole in the bottom somewhere. Spray the cleaner in, then rotate the pot back and forth until the noise is gone. Voila! The same process can be used for a dirty toggle switch.
That’s the basics! Try some of these out if you wish. I do not work for any of these product manufacturers, I just find that they work best for me!
Do your research, talk to some techs and see what other opinions are. Most importantly, make sure a product is safe to use before you use it.
Happy playing!
one of the best guitar selling places. 10 points!!!!!!!!!!!
Linseed oil does work beautifly, but unfortunately it stinks to high heaven for quite awhile. Years, sometimes.